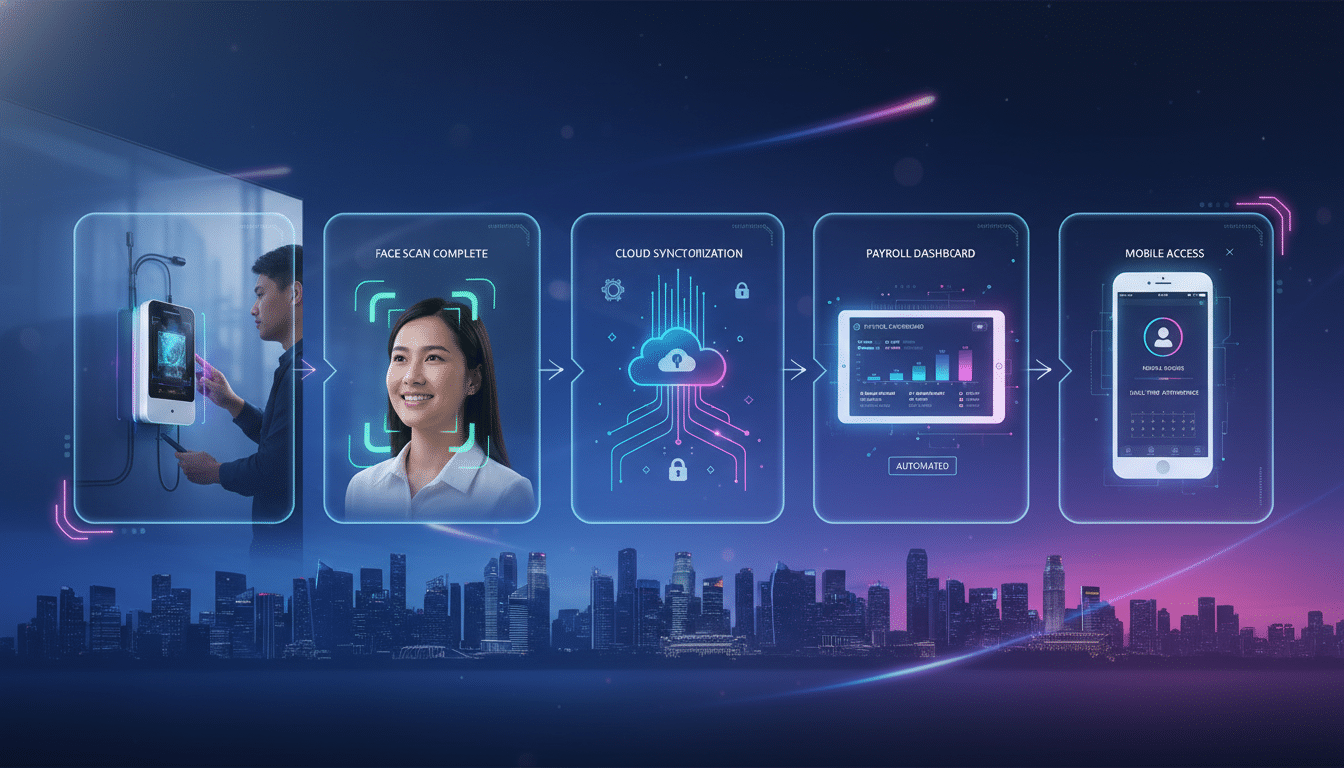
Biometric attendance device installation in Singapore is straightforward for cloud-connected devices. The hardware installation takes under two hours. Network configuration takes 15 to 30 minutes. Employee enrolment at 2 to 3 minutes per person is the longest step for large teams. The common mistakes I see are not technical. They are procedural: companies that install the hardware before configuring the software, or enrol employees before obtaining PDPA consent. Getting the sequence right prevents those problems.
Key Takeaways
- Hardware installation takes under 2 hours per device: Wall mounting, power connection, and network configuration are the only technical steps for cloud-connected readers.
- Software must be configured before employee enrolment: Register the device in the HR platform before the first enrolment scan, or attendance records will not link to employee profiles.
- PDPA consent must precede enrolment: Employees must be notified of the purpose of biometric data collection and consent obtained before any fingerprint or face scan (Source: PDPC).
- Enrolment quality determines ongoing accuracy: Poor enrolment scans (dirty sensor, rushed three-scan process) cause higher false rejection rates in daily use.
- Network requirements are simple: The device needs outbound HTTPS access on port 443 and either a wired LAN connection or a stable WiFi signal.
Step 1: Site Preparation
Site preparation means choosing the right mounting location before drilling a single hole. The location must meet four criteria: correct height, no direct sunlight, power access, and network access.
Site preparation checklist:
- Height: Mount at 1.1 to 1.3 metres from the floor (waist to chest height for most adults). Too high or too low causes discomfort and slower throughput.
- Sunlight: Avoid walls facing windows with direct sunlight. Optical fingerprint sensors and some face recognition terminals are affected by bright ambient light.
- Power: A power outlet within cable reach, or plan for cable routing in the wall. Most Singapore devices run on 12V DC via the included adaptor.
- Network: A nearby LAN port (preferred) or confirmed WiFi signal strength of at least -65 dBm at the mounting location.
For face recognition terminals, also check that the mounting wall has enough clear space in front for employees to stand at the required distance (typically 0.3 to 1 metre from the terminal).
Step 2: Device Mounting
Mount the device on the wall using the supplied bracket and screws. Most Singapore biometric attendance devices include a flush-mount bracket that attaches directly to the wall. The device snaps onto the bracket.
Installation steps:
- Hold the bracket against the wall at the correct height and mark the screw holes with a pencil
- Drill holes and insert wall anchors if mounting on drywall or concrete
- Secure the bracket with the supplied screws
- Route the power cable and LAN cable (if wired) through the wall or along a cable trunking
- Attach the device to the bracket
For a Singapore HDB or commercial building with concrete walls, use the correct masonry drill bit and wall anchors rated for the device’s weight. Most fingerprint readers weigh under 500g. Face recognition terminals can weigh up to 2 kg.
Step 3: Network Configuration and Software Registration
Network configuration connects the device to your office network. Software registration links the device to your cloud HR platform account. Both must happen before employee enrolment.
Network setup:
- For LAN: plug the Ethernet cable into the device’s LAN port and your office switch
- For WiFi: access the device’s admin menu (touch screen or button combination), navigate to WiFi settings, enter your SSID and password
- Confirm the device receives an IP address and can reach the internet (most devices show an online indicator light or status screen)
Software registration:
- Log in to your cloud HR platform admin console
- Navigate to Device Management > Add New Device
- Enter the device serial number or scan the QR code from the device screen
- Assign the device to a location in the system
- Confirm the device appears as online in the platform dashboard
For the fingerprint attendance system Singapore platforms that are cloud-native, registration takes under 5 minutes once the device is online.
Step 4: Employee Enrolment
Employee enrolment creates the biometric template that the device uses for all future verifications. Quality enrolment reduces daily false rejections. Rushing the enrolment process is the most common cause of ongoing reader problems.
Enrolment process per employee:
- Present the employee’s NRIC or employee ID to link the enrolment to their HR profile
- Ask them to place their index finger firmly on the sensor, flat (not tilted)
- Scan 1: full contact, hold for 1 second, lift
- Scan 2: replace finger in slightly different orientation, hold for 1 second, lift
- Scan 3: replace finger, hold for 1 second, lift
- Device confirms successful enrolment (green indicator or screen confirmation)
- Optionally repeat for second finger (recommended backup)
Time per employee: 2 to 3 minutes, including instructions. For a 50-person company, enrolment takes approximately 2 hours in a single session.
“Poor enrolment is the number one cause of daily false rejections. Take three minutes per employee during setup and save hours of support requests later.”
Frequently Asked Questions
Do I need a technician to install a biometric attendance device in Singapore?
No. Cloud-connected biometric attendance devices are designed for non-technical installation. The hardware mounting requires basic tools (drill, screwdriver). Network configuration uses the device’s touchscreen menu. If your team is comfortable hanging a picture frame and connecting to WiFi, they can install a biometric attendance reader.
How long does employee biometric enrolment take for a 100-person company?
Enrolling 100 employees takes approximately 4 to 5 hours in a single session, or 2 to 3 days if done in smaller groups during shift start times. Dedicate a specific location and time slot for enrolment to avoid disrupting operations.
What if an employee refuses to enrol in the biometric attendance system?
Under Singapore’s PDPA, employees must consent to biometric data collection. If an employee declines, the employer should offer an alternative attendance method (swipe card, manual sign-in) while reviewing whether the refusal affects the operational requirements of the role. Forcing biometric enrolment without consent is a PDPA violation (Source: PDPC).
Can biometric devices be installed outdoors in Singapore?
Yes, but the device must be rated IP65 or higher for outdoor use. Singapore’s humidity and rainfall require weatherproof-rated devices for outdoor mounting. Indoor devices mounted near open-air car parks or loading bays also benefit from an IP65 rating. Check the IP rating in the device specification before outdoor installation.
What network firewall rules are needed for a cloud biometric attendance device?
The device needs outbound access on port 443 (HTTPS) to the cloud HR platform’s domain. No inbound ports need to be opened. If your office network uses a proxy or content filtering, whitelist the HR platform’s domain in the proxy settings. Most corporate firewalls allow outbound HTTPS by default.
Conclusion
Biometric attendance device installation in Singapore follows a clear sequence: site preparation, mounting, network configuration, software registration, and then employee enrolment. Do not skip or reorder the steps. Software registration before enrolment ensures attendance records link to employee profiles from the first scan. PDPA consent before enrolment ensures compliance from day one. Enrolment quality determines daily accuracy. Done correctly, the installation is complete in one working day for most Singapore office sizes.
Tipsoi ships biometric devices with a step-by-step Singapore installation guide and a cloud HR platform registration built in. Get a quote. Download Tipsoi’s Biometric Device Installation Checklist for a printable step-by-step guide.